Just Build! Build Structure Before Decor
Massing and circulation first — props and paint last.
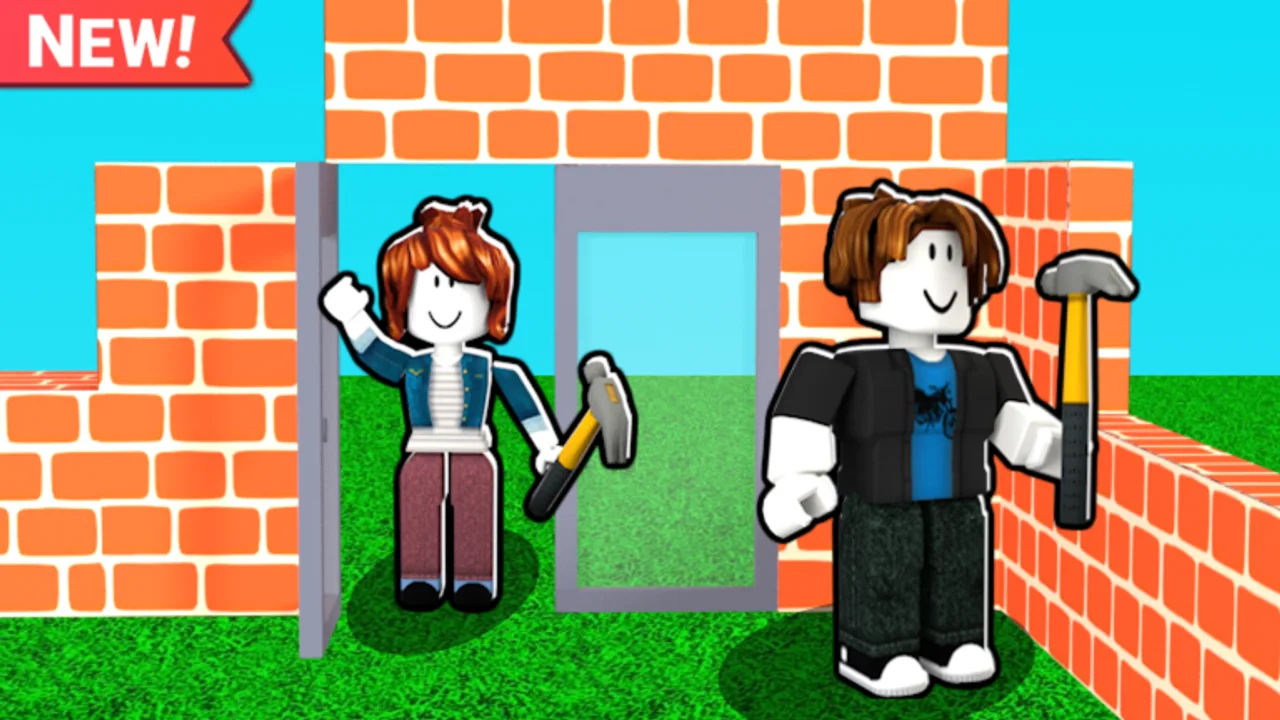
Structure-first building is the fastest way to make Just Build! look intentional. The game is a free collaborative sandbox from Awesome Fun Games with autosave and optional Game Passes. Nothing stops you from dropping random neon cubes, but those sessions rarely produce a silhouette friends want to screenshot. This page teaches a repeatable order: footprint, primary volumes, circulation, roof or cap, then decoration. Follow it on a free kit before you open Higher Build, Beach Pack, or coils.
Why structure beats spam
Autosave preserves clutter as eagerly as it preserves good design. Co-op multiplies that risk because eight players can place at once. Structure-first gives the group a shared sequence. When someone asks “what next?”, the answer is never “more rainbow blocks” — it is “close the west wall” or “raise the roof plane.” That vocabulary turns a noisy lobby into a project.
Step 1 — Claim a footprint
Walk your plot and decide the outer rectangle or compound shape before anyone places props. Mark corners with contrasting blocks. Keep the footprint smaller than the whole plot so you have breathing room for paths and photo angles. In co-op, one player owns the footprint and nobody expands it without a verbal check. If you plan a driveway or car showcase later, reserve that strip now instead of carving it out of a finished house.
Step 2 — Raise primary volumes
Build the largest boxes first: main hall, garage mass, tower, or grandstand. Use consistent floor heights so wings align. Resist window frames, fences, and logos until the volumes read correctly from spawn. Higher Build helps tall towers, but free height is enough for most starter houses. If a volume feels wrong, delete early — autosave means you can experiment safely, not that you should keep every experiment.
Step 3 — Cut circulation
Doors, hallways, stairs, and ramps are structure, not decoration. Punch openings while walls are still simple. Leave at least one clear path from spawn to the main entrance so visitors understand where to walk. For vehicle builds, leave a straight approach lane before you detail the chassis. Circulation mistakes are expensive after furniture fills the rooms.
Step 4 — Cap with roof or silhouette finish
A simple pitched roof, flat parapet, or layered plate immediately reads as “building” instead of “stack of parts.” Match roof overhangs on every wing. For non-house projects such as tracks or plazas, the “cap” might be a grandstand canopy or a finished ground edge. The embedded video shows a car-focused session where chassis massing comes before chrome details — steal that discipline even if your project is a cottage.
Mid-session checkpoint
Pause when walls and roofs exist. Screenshot from spawn and from a high corner. Run the build checklist and ask: does the silhouette read in three seconds? If not, remove accent colors and fix massing before anyone opens Beach Pack palms or Winter Pack snow. This is also the moment to invite late friends with invite friends so they join a readable shell instead of a pile.
Step 5 — Details with restraint
Now place windows, trim, railings, signs, and landscaping. Limit yourself to two accent colors plus a neutral. Paint Blocks help if you own them; if not, choose block colors carefully on placement. Coils, Grapple Hook, Flying Cloud, and Flying Carpet speed vertical work — they do not invent good proportions. Ban Hammer belongs to hosts cleaning grief, not to decorating.
Co-op role split that works
- Foundation lead: footprint and floors
- Shell lead: exterior walls and openings
- Roof lead: caps and chimneys
- Detail lead: windows, props, landscaping
- Cleanup lead: floating parts, mismatched colors, blocked paths
Rotate roles between sessions so nobody burns out. If the group is small, combine roles but keep cleanup as a named job in the last ten minutes.
Common structure failures
| Failure | Symptom | Fix |
|---|---|---|
| Footprint sprawl | Rooms feel endless and empty | Shrink outline; add courtyards instead of wider boxes |
| Vertical spaghetti | Stairs collide with roofs | Plan stair wells before second floor plates |
| Decoration first | Pretty corners, broken silhouette | Delete props, rebuild primary volumes |
| No photo angle | Friends cannot find a hero shot | Keep one clear plaza facing spawn |
Pair with other wiki pages
After a clean shell, browse house ideas for room layouts or theme builds for vacation and seasonal skins. Compare paid helpers in the Gamepass picker and best value Game Passes. New players should still complete getting started and skim autosave explained so they trust experimentation.
Practice drill (thirty minutes)
Minute 0–5: footprint only. Minute 5–15: two primary volumes. Minute 15–22: doors and one stair. Minute 22–28: simple roof. Minute 28–30: delete every prop that is not structure. If the remaining form still looks good, you are ready for themes. If it collapses without decorations, your massing needs another pass — and that honesty is exactly what structure-first training is for.
Structure-first is not anti-creativity. It is the scaffolding that lets creativity survive co-op, autosave, and the temptation to buy every pack before you know what you are building.
Frequently Asked Questions
Quick answers to the most common questions.
Should I buy Higher Build before learning structure?
No. Practice readable massing at free height first. Buy Higher Build when a specific tower or cliff base needs the extra vertical room.
How many players should edit the footprint?
One player owns the outline. Others wait until corners are marked so the plot does not expand accidentally.
Does structure-first work for cars and tracks?
Yes. Treat chassis or lane geometry as the primary volume, then add details after the silhouette reads from spawn.
What if friends only want to decorate?
Give them a finished shell zone and keep one cleanup lead. Share this page so the group agrees on order of operations.